
How to Put an Edible Wrap Round the Side of a Cake
A step-by-step guide to wrapping an icing sheet round a cake, from chilled buttercream or fondant to hiding the joins under piping.
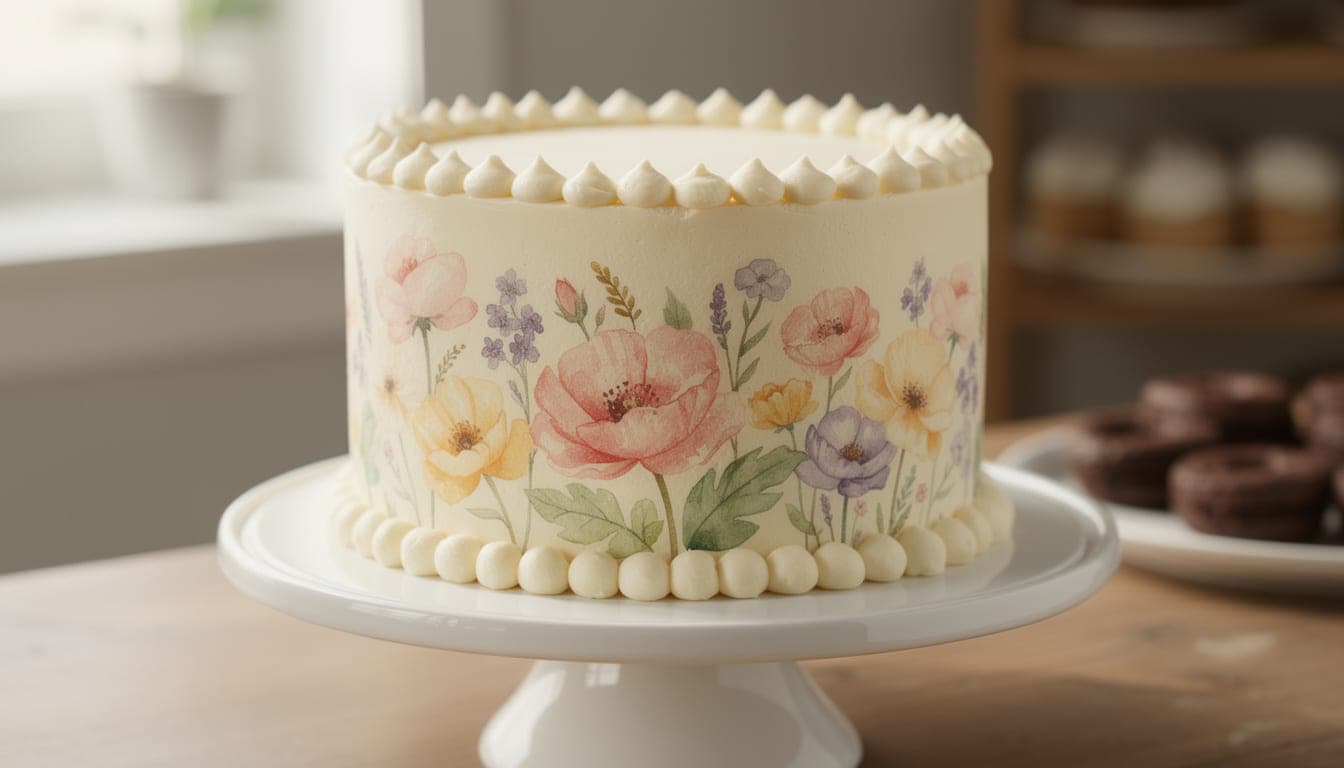
Get the surface right before the wrap comes out
If you want to know how to apply an edible image to the side of a cake, most of the work happens before you touch the sheet. A firm, smooth surface and a wrap that fits are what make it go on neatly. The rest is patience.
This guide assumes you have already measured the cake and printed your strips. If not, start with how to measure a cake for an edible wrap and how to print one on A4. The free cake wrap size calculator will give you the length for your tin size.
Check the fit on plain paper first. Cake Central suggests cutting a paper template before you cut the real thing. Wrap it round the iced cake and see whether the ends meet. It costs a sheet of paper and saves an icing sheet.
| What to check | Buttercream | Fondant |
|---|---|---|
| Surface | Well chilled and firm before you apply anything. | Fondant already on the cake. It stretches, so apply the image afterwards. |
| Main risk | A coat that is still soft. Chill it until it is firm. | A crusted or dry surface that traps air. |
| Bubbles | Trapped air is the usual cause. Press from the centre out and prick with a pin. | The same, and a crusted surface makes it worse. |
| Dark colours underneath | Light frosting colours work best. | Put thin white fondant behind the image if the cake is dark. |
| Helping it stick | A very thin coat of corn syrup on the back of the image helps. | The same thin coat of corn syrup on the back. |
How to apply an edible image to the side of a cake, step by step
The cake should be cold and firm, your hands dry and your strips printed and ready. Work in a cool room, and keep unused pieces flat and covered while you work on the first.
- 1
Cut on the grey lines
Each piece has a cut line and a piece number. Cut just inside the grey line with sharp scissors or a craft knife and a ruler. Cut clean edges: a wobbly cut is much easier to see once the wrap is round the cake. - 2
Release the backing
Bend the backing sheet gently away from the icing, a little at a time. If the icing won’t let go, Rose Bakes suggests a short freeze of 10–20 seconds, and no longer. Peel it straight away. - 3
Start with piece 1 at the back
Lay the first piece against the cake with its start at the back, where the final join will sit. A very thin coat of corn syrup on the back of the sheet helps it grip. Press the middle of the piece onto the cake first. - 4
Line up the tick marks
Each piece has small tick marks that show where the next piece overlaps it. Lay piece 2 so it meets those marks on piece 1, then press it on. Repeat for any further pieces, keeping the top and bottom edges level as you go. - 5
Put the last piece over the start
The final piece’s end goes over the start of piece 1, at the back. That is the overlap you allowed for when you measured. If the wrap comes up short, Cake Central’s advice is to add another strip of exactly the same height rather than stretching what you have. - 6
Press from the centre out and prick any bubbles
Smooth each piece from its centre outwards, using your palm or the flat of your fingers. If air is trapped, prick the bubble with a pin and press it flat. Cake Central readers report that trapped air and a crusted surface are the usual causes of bubbles, so a fresh, firm base helps.
Hide the joins with piping (what we did)
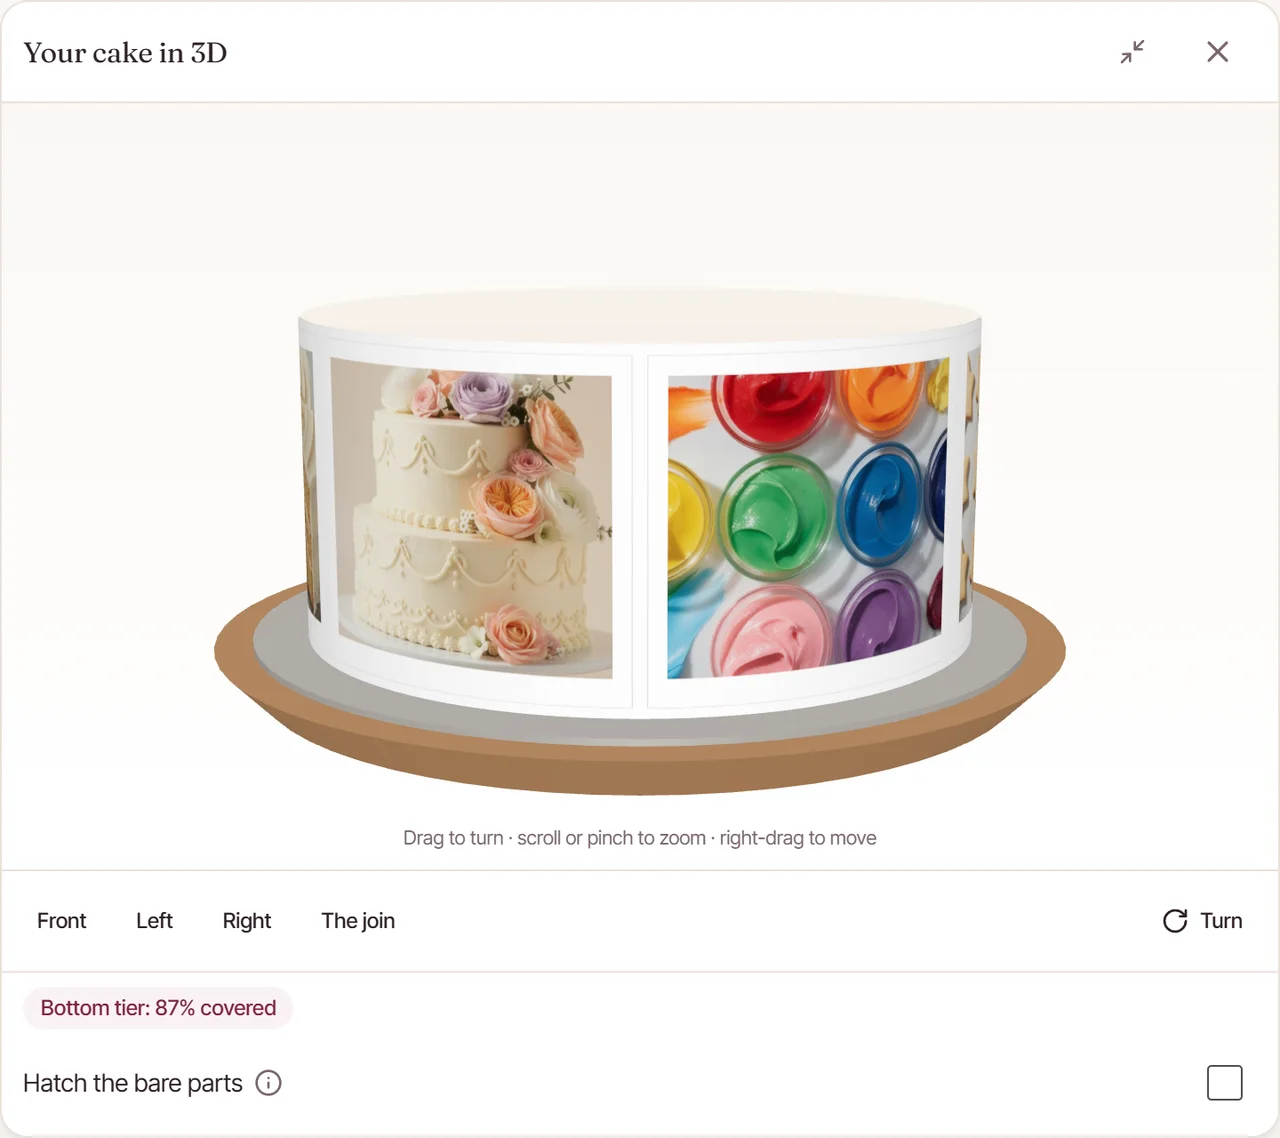
However carefully you line up the tick marks, a join is still a join. The easiest way to deal with it is to pipe over it. That is what we did on our own cake: piped buttercream rosettes sat over each join, with more round the top and bottom edges.
Piping also tidies the edges, which are the hardest part to get perfectly straight. It is a good reason to plan your layout around it. The designer’s “Framed for piping” style leaves 12 mm gaps between the photos and 8 mm above and below, so there is room for a border of buttercream round each picture.
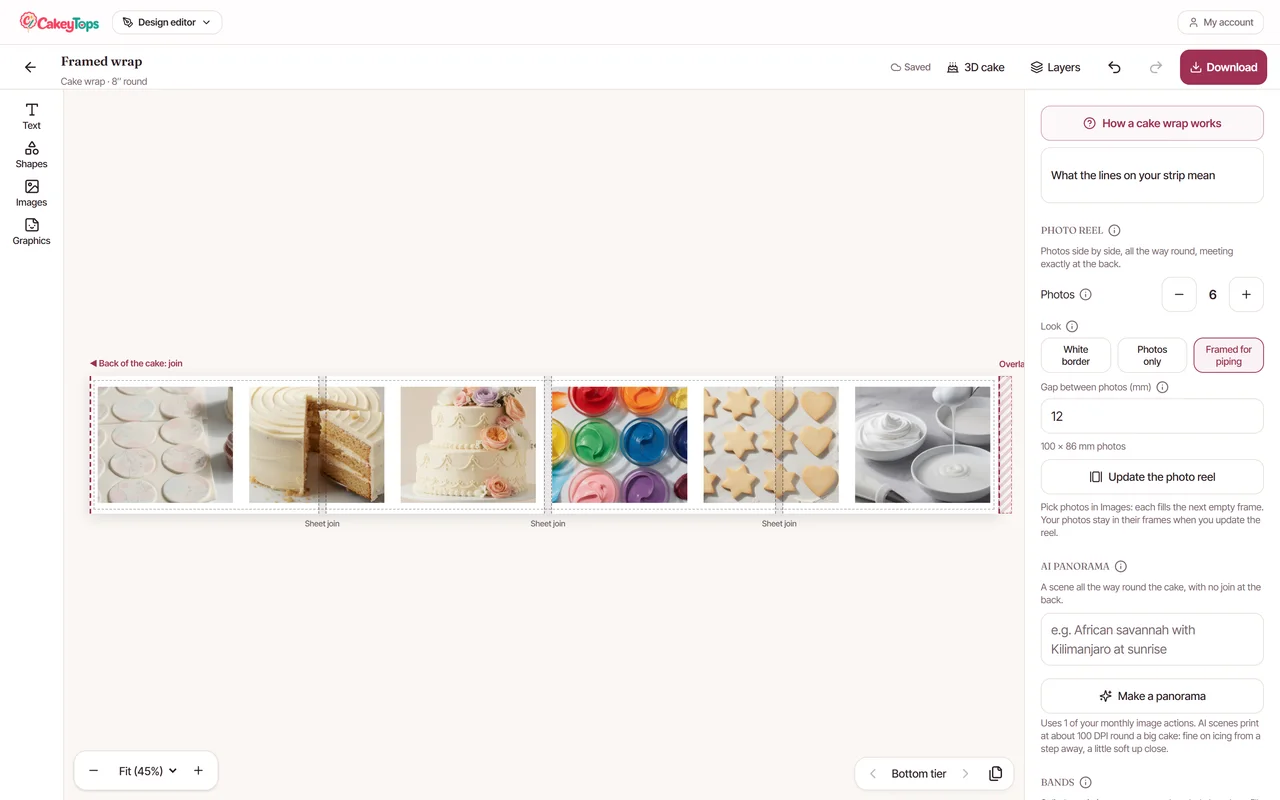
If you would rather not pipe, put the joins in the gaps between photos, away from faces. For more ideas on layouts, see our photo cake wrap ideas.
Timing and storage
Don’t apply the wrap too early. Rose Bakes advises applying an edible image no more than 48 hours ahead, and keeping the finished cake out of the fridge. Chill the cake to apply the wrap if you are using buttercream, then keep it somewhere cool and out of the fridge.
Icing sheets and wafer paper behave differently. Wafer paper doesn’t meld into the icing the way an icing sheet does (paper2eat), which is one reason icing sheets suit cake sides. Our icing sheets vs wafer paper guide explains the difference. Warm days make everything harder, so see hot-weather cake decorating too.
Design the wrap, see it on a 3D cake and print it on A4 sheets. The designer is for CakeyTops members, and you can start a trial.
Frequently Asked Questions
Can I put an edible wrap on a cake straight from the fridge?
With buttercream, yes: it should be well chilled and firm before you start. Once the wrap is on, Rose Bakes advises keeping the finished cake out of the fridge.
How far ahead can I apply an edible image to a cake?
Rose Bakes recommends no more than 48 hours ahead. Store the finished cake somewhere cool and dry, and not in the fridge.
What if the backing won’t come off the icing sheet?
Put the sheet in the freezer for 10–20 seconds, and no longer, then peel the backing away gently.
How do I get rid of air bubbles under the wrap?
Press from the centre outwards, then prick any trapped bubble with a pin and smooth it flat. A firm, fresh surface helps, because trapped air and a crusted surface cause bubbles.
Can I use an edible wrap on fondant?
Yes. Apply the image after the fondant is on the cake, because fondant stretches. If the cake is dark, put thin white fondant behind the image so the colours show.
Use the tool from this guide
Open the relevant CakeyTops tool and put the advice above to work straight away.
Keep reading
How to Measure a Cake for an Edible Wrap (Tin or Tape Measure)
Why “diameter × 3.14” leaves an edible wrap short, and two reliable ways to measure the iced cake instead, with round and square examples.
TutorialHow to Print an Edible Cake Wrap on A4 Icing Sheets
A cake wrap is longer than any sheet, so it prints in pieces. Here is how the pieces overlap, where the joins go, and the print settings that stop a wrap coming out the wrong size.
GuideEdible Cake Wrap Problems: Won’t Peel, Bubbles, Too Short or Misaligned
A troubleshooting guide for icing sheet cake wraps: stuck backing, bubbles, a wrap that comes up short, a join that misses and smeared ink.