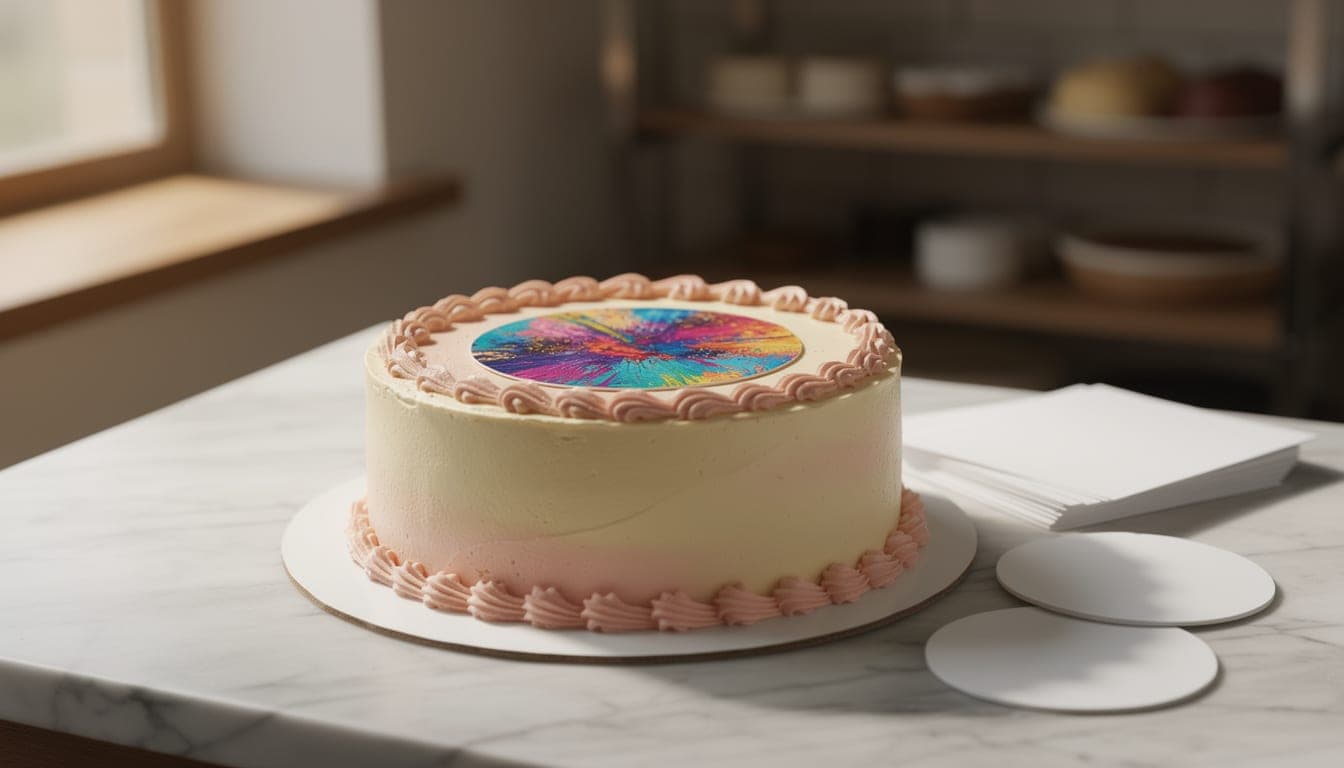
From Photo to Edible Topper: Turn Any Image into a Cake Topper
A favourite photo can become the centrepiece of a cake — if you prep it properly. Here is how to cut out the subject, fix a low-resolution image, and print it edible, using free AI tools.
7 min readBy CakeyTops Team
A photo of the birthday girl, a beloved pet, or a favourite holiday makes a topper feel personal in a way clipart never can. The catch is that a phone snap is rarely print-ready as it is. Here is how to prep any photo into a clean, sharp edible topper — cutting out the subject, fixing a low-resolution image, and printing it properly — all with free tools.
The honest starting point: photo quality
No tool can invent detail that the camera never captured. A blurry, dark, or tiny photo will always struggle at print size. So pick the best source you have: in focus, well lit, and as high-resolution as possible. A clear photo of one subject against a simple background is the easiest to turn into a clean topper. Once you have the best candidate, the rest is prep.
Step by step: photo to edible topper
1
Choose and crop the photo
Crop tightly to the subject — a face, a pet, the couple. The more of the frame the subject fills, the more print detail you keep at topper size.
2
Remove the background
Run it through the free background remover. It isolates the subject on a transparent background in your browser, so a messy room behind the birthday cake does not end up on the cake. Our guide to AI background removal for cake photos covers tricky edges like hair and fur.
3
Add a themed background (optional)
Want more than a plain cut-out? Place the subject on a new, themed backdrop — a galaxy, a football pitch, a field of flowers — generated in the AI Image Generator. It turns a simple photo into a designed scene without any photo-editing skill.
4
Upscale a low-resolution photo
If the photo is small or soft, enlarge it with the AI upscaler (2× or 4×) before printing. This rebuilds detail, where stretching the file in your printer software just magnifies the blur.
5
Check the resolution at print size
Run the file through the edible image quality checker at your finished size. Aim for about 300 DPI — roughly 600 pixels across for a 2-inch cupcake disc, or 2400 across for an 8-inch cake top.
6
Print and apply
Print onto an icing or wafer sheet with an edible printer, cut to shape, and lay it on a lightly tacky buttercream or fondant surface; smooth gently and rest 20–30 minutes. Full method: how to print edible cupcake toppers at home.
It is tempting to send a phone photo straight to print. The result is usually disappointing: a distracting background, soft focus magnified by the print, and colours that look flat on a cake. Five minutes of prep — cut out, upscale, resolution check — is the difference between a topper that looks deliberately made and one that looks like a printout stuck on a cake. All three tools are free, run in the same place, and save your work to a library so you can reuse the cleaned-up image next time.
Recommended Supply
Print your finished topper
Once your image is prepped, print it on edible icing sheets for the vivid, smooth finish photos need — they sit flush on buttercream or fondant and lift cleanly into place.
Affiliate disclosure: As an Amazon Associate I earn from qualifying purchases.
Used in our kitchenEdible printing
Edible Icing Sheets for Frosting Printing
The edible icing sheets we use for printed cake toppers, photo toppers, and repeated cupcake sheets.
These sheets give a clean finish, work well for photo toppers and cupcake sheets, and are the first option we point bakers to for edible prints.
Why we recommend it
Used in our own topper setup because the sheets feed cleanly and hold detail well for edible prints.
Photo toppers and edible cupcake sheets
A4 edible print workflows
Home bakers who want a dependable icing sheet option
Crop to the subject, remove or replace the background, upscale the image if it is low resolution, check it reaches about 300 DPI at your finished size, then print it on an icing or wafer sheet with an edible printer and apply it to a lightly tacky buttercream or fondant surface.
Can I print any photo onto a cake?+
Technically most photos can be printed on an edible sheet, but quality varies. Sharp, well-lit, high-resolution photos print beautifully; blurry or tiny ones look poor because printing magnifies every flaw. Prep the image first — cut out the subject and upscale it — for a much better result.
Do I need a special printer for edible photo toppers?+
Yes. Edible images require a dedicated edible/food-safe printer loaded with edible ink, printing onto icing (frosting) or wafer sheets. A normal inkjet uses inks that are not food-safe. If you do not own one, prep the photo with these free tools and send it to an edible-printing service.
How do I fix a blurry photo for a cake topper?+
Use an AI upscaler to enlarge it 2× or 4× before printing — it reconstructs detail rather than just stretching pixels. Then check the result in the edible image quality checker at your print size. If the original is extremely blurry, no tool can fully recover it, so start from the best photo you have.
Is it legal to put a photo on a cake?+
For a private cake using your own photo, or a photo of someone who has consented, yes. Selling toppers that feature a real person without permission, a celebrity, or a trademarked character can infringe copyright or likeness rights. That is a separate issue from the editing tools — only use images you own or have permission to use.
Ready to design your own cake toppers?
Free to use, no software to install, and every export comes out at a crisp 300 DPI.