
How to Pipe Buttercream on Cupcakes: Five Beginner Finishes
Match the nozzle to the finish, practise the hand movement and learn when to stop squeezing for a clean result.
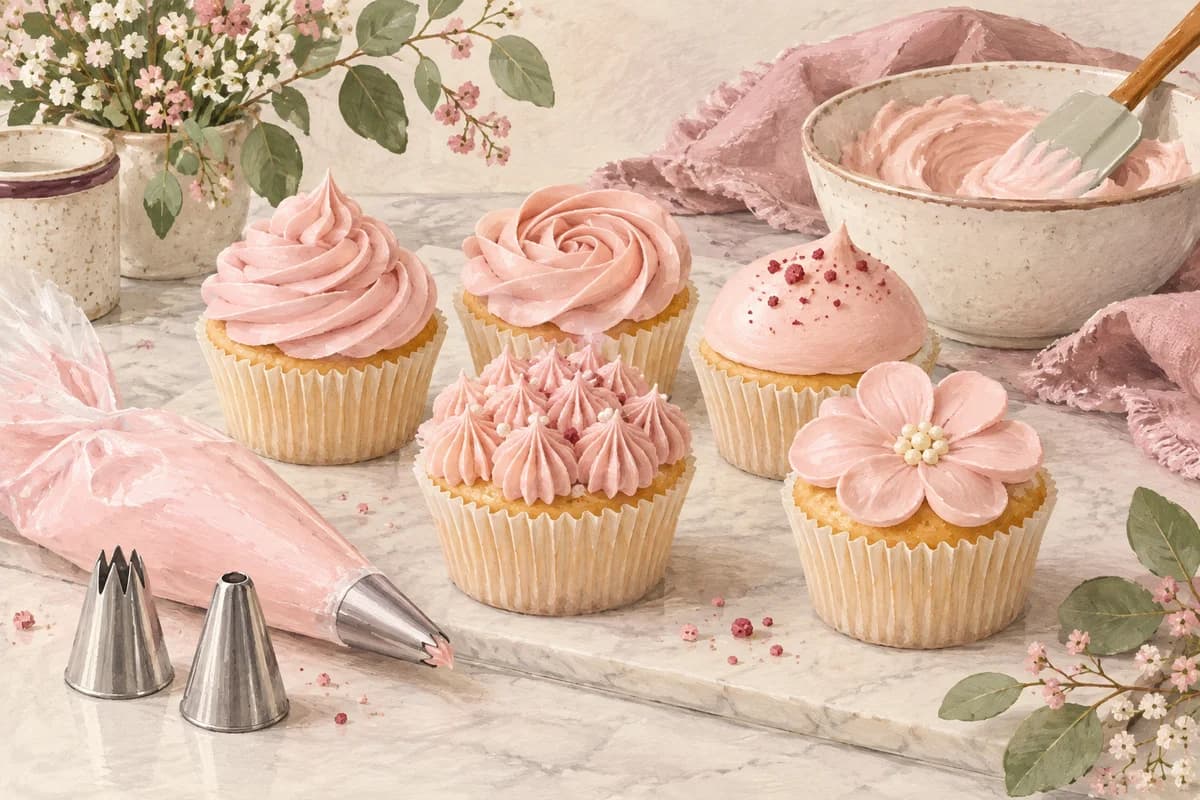
Set up before you fill the bag
Have the cupcakes completely cool. Soft buttercream on a warm sponge can slide even if your hand movement is correct. You need a piping bag, a suitable nozzle, a spatula and a plate or reusable practice surface.
- Fit the nozzle inside the empty bag. Trim only enough of the point for the opening to emerge; cutting too high can let the nozzle slip out.
- Fold the top of the bag over a tall glass to hold it open. Add frosting without overfilling, then unfold the cuff.
- Twist the top and press the frosting down. Squeeze a small amount onto a plate to clear a trapped air pocket.
- Use your dominant hand near the top to apply pressure. Your other hand guides the nozzle without squeezing the lower bag.
A half-filled bag is easier to control than one packed to the top. Refill as needed rather than letting frosting escape above your hand. If you use a coupler, check that it fits the nozzle size; large cupcake nozzles often go directly into the bag.
Choose the look, then the nozzle
| Finish | Opening | Movement |
|---|---|---|
| Classic star swirl | Large open star, such as Wilton 1M | Outside inwards and upwards. |
| Low rosette | Large open or closed star, such as 1M or 2D | Centre outwards, low. |
| Smooth round swirl | Large round, such as Wilton 2A | Outside inwards and upwards. |
| Cluster of small stars | Small or medium open star | Short stationary squeeze. |
| Simple drop flower | Drop-flower nozzle with a shaped opening | Short stationary squeeze. |
The diagrams below show the intended shapes. They are schematics, not photographs of a test batch. A nozzle’s width, frosting texture and your movement will change the finished appearance.
Practise these five finishes
Classic star swirl
Nozzle: Large open star, such as Wilton 1M.
- Hold the bag upright over the outside edge of the cupcake.
- Squeeze steadily and move around the edge, keeping the nozzle just above the frosting.
- Continue inwards and slightly upwards for a second turn.
- At the centre, release pressure, then lift away.
Look for: Distinct ridges and a centred peak. Keep the first turn inside the edge of the case.
Low rosette
Nozzle: Large open or closed star, such as 1M or 2D.
- Start in the centre with the bag upright.
- Pipe a small central star, then circle outwards around it.
- Keep the nozzle low so the finish stays flat rather than building a tower.
- Finish near the edge, stop squeezing and tuck the tail alongside the last ridge.
Look for: A flat spiral resembling a rose. This uses a different movement from an outside-in swirl.
Smooth round swirl
Nozzle: Large round, such as Wilton 2A.
- Start near the outer edge and pipe one ring with steady pressure.
- Move towards the centre while raising the nozzle slightly.
- Make a smaller ring or mound.
- Release pressure before lifting to leave a controlled tip.
Look for: Smooth bands without a hole between turns. A wider opening may use more frosting.
Cluster of small stars
Nozzle: Small or medium open star.
- Hold the bag upright, close to the cupcake surface.
- Squeeze a short burst without moving the nozzle around.
- Stop squeezing, then lift vertically.
- Repeat, filling the gaps while keeping the stars similar in size.
Look for: Each star has defined points. A dragging tail often means you lifted while still squeezing.
Simple drop flower
Nozzle: Drop-flower nozzle with a shaped opening.
- Practise the nozzle on a plate: different flower openings make different petals.
- Hold it upright close to the surface and squeeze a small flower.
- If the nozzle’s instructions call for a twist, rotate gently while piping.
- Stop squeezing and lift. Add a small contrasting centre with a round nozzle if you wish.
Look for: Petals hold their outline. Use a firm piping consistency and a clean nozzle.
Check the finish before decorating the whole batch
| What you see | What to check first |
|---|---|
| Ragged or broken ridges | Stiff frosting, a blocked nozzle or dried frosting at the opening. |
| Swirl spreads or falls over | Warm frosting, a warm cupcake or too much liquid. |
| Sudden gap or splutter | An air pocket in the bag. Squeeze onto a plate before continuing. |
| Different heights across a box | Varying pressure or number of turns. Use a finished sample as your reference. |
Use the buttercream diagnostic for texture corrections. To keep a boxed batch even, decorate one example first, then repeat the same starting point and number of turns. Warm hands may soften the frosting as you work.
Leave a useful place for the topper
A large edible disc sits more predictably on a low, level finish than on a tall peak. Keep a tall swirl for decorations supported by an appropriate pick, or pipe around a flatter central space. Check the materials and attachment instructions before combining them.
Frequently Asked Questions
Is a 1M or 2D nozzle better for beginners?
Both can make cupcake decorations. A 1M has an open-star opening; a 2D is more closed. Start with a clear open-star swirl, then practise the other on a plate. Consistency and hand movement matter as much as nozzle choice.
Can I decorate without a piping nozzle?
Yes. Spread the buttercream with a palette knife or use a neatly cut bag opening for a simple round finish. You will not get the ridges of a star nozzle.
Can I reuse frosting from a practice plate?
If the plate and tools are clean and the frosting has been handled within its storage requirements, scrape it back into the bag. Do not reuse frosting contaminated by crumbs, raw ingredients or unclean surfaces.
Continue your decorating plan
Follow the next guide to plan the quantities, finish and timing for your bake.
Keep reading
How Much Buttercream for 12, 24 or 48 Cupcakes?
Choose a spread, classic swirl or tall finish, then calculate a batch in grams with a matching ingredient list.
GuideHow to Fix Buttercream: Runny, Grainy, Split or Full of Bubbles
Find the first correction for the frosting already in your bowl, with separate advice for American and meringue buttercream.
GuideHow Far in Advance Can You Make Cupcakes? Storage, Freezing & Toppers
Work backwards from serving time, keeping freshness, food safety and the appearance of your toppers separate.